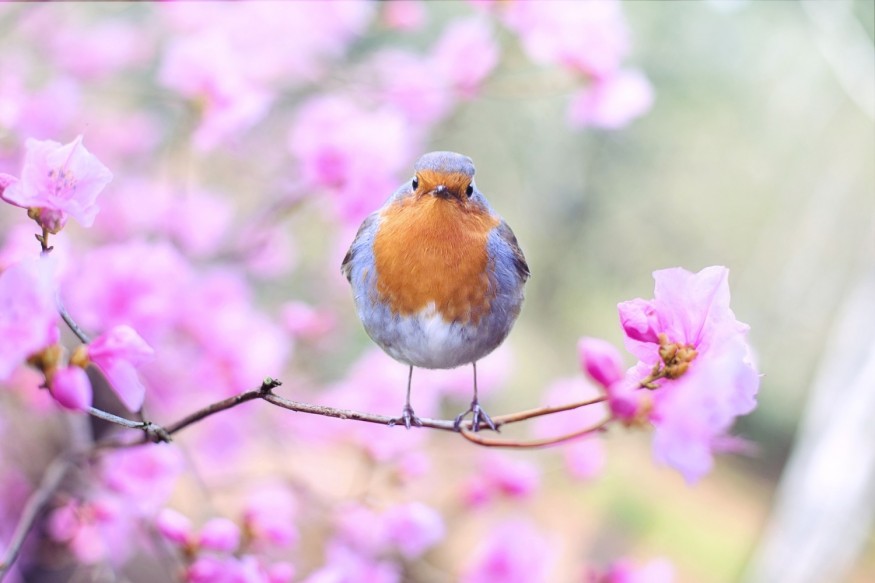
Nature photography is an art form that captures the beauty and majesty of our natural world. Plus, you are only limited by your power of imagination when it comes to the type of shots you can take.
Mother Nature is so stunning and diverse, and you can use a wide range of framing techniques, lenses, and editing methods that there's no end to what you can create. And yet, most of your pictures are probably collecting digital dust on your computer or memory card.
Sure, you probably post the best-looking ones online (hint - Instagram is a great way to market your services if you're a pro), but the rest of your photos may not see the light of day. So why not turn them into a scrapbook?
A scrapbook, especially if you make it from scratch, can be an original gift to a loved one or a point of attraction on your coffee table when friends and/or family come over. Of course, it's also a wonderful way to peruse through your memories and have a visual representation of your progress.
There are two ways to make a scrapbook, and today we'll go have a look at both:
The Quick, Professional-Looking Way
If you're not that much into arts and crafts, don't worry, we've got your back. All you need is a service that does most of the work for you, like Mixbook.
With this type of service, all you have to do is select the photographs you want to include in the scrapbook. If you have a mountain of photos and don't feel like going through all of them, set a theme. For instance, you could have a scrapbook focused on wildlife photography, images of mountains, or aerial photos.
Also, you may want to think about the general layout of the book (the service will recommend several predefined layouts, but you can usually customize it). This way, you'll know which photo format works best on the pages.
The DIY from Scratch Way
If you want to get your hands dirty (literally), start by making sure you have all the supplies. You will probably need cardboard or thicker paper (for the covers), construction paper (for the pages), scissors, adhesives, and a ruler.
Once you have your tools, decide on the book's general theme and layout. It helps to create a rough sketch and write down which photo goes on which page. This way, it will go down smoothly when you start gluing things.
The first step is to create the covers out of thick paper and then add the pages one by one. You can find a great video tutorial on how to do this here. Once you manage to put the scrapbook together and the glue is dry, you can decorate the pages and cover them with stickers, ribbons, stamps, and even messages.
Quick tip: You can write the messages by hand, with a marker to make sure they stand out, or you can print and glue them on the page.
Make It Fun
Both methods will result in a stunning scrapbook that includes your shots of nature and landscapes, so take things slow when deciding which to choose. The first method is best if you want to offer the scrapbook as a gift or if you want to have it as your coffee-table book. You can also distribute these as part of a campaign to market your services.
The second method is more troublesome, but it can be fun if you like making things with your hands. Plus, it works extremely well as a thoughtful gift for a loved one or a family member. So, the best thing you can do is enjoy the process and the result.
© 2025 NatureWorldNews.com All rights reserved. Do not reproduce without permission.


